Table of Contents
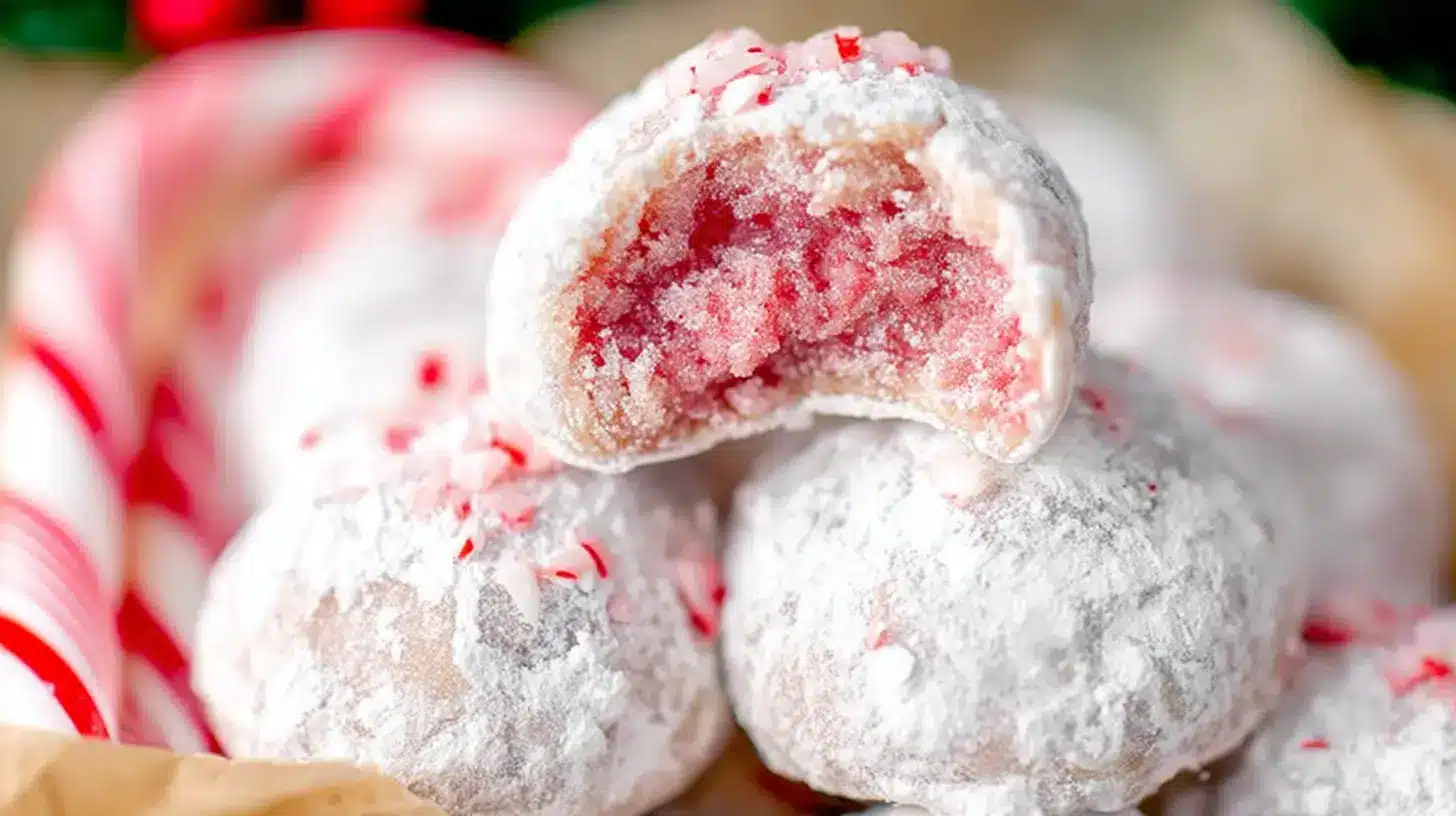
Get ready to add a festive twist to your holiday baking! Classic snowball cookies are a beloved treat, known for their tender, buttery texture and powdered sugar coating. This recipe takes that tradition and infuses it with vibrant Peppermint Snowball Cookies flavor, perfect for Christmas gatherings. They are incredibly easy to prepare and bring a beautiful, festive look to any dessert spread. You’ll love sharing these delightful bites!
Why You’ll Love These Peppermint Snowball Cookies
These Peppermint Snowball Cookies are a holiday must-make for so many reasons:
- Simple & Straightforward: With common ingredients and easy steps, even beginners can achieve perfect results.
- Melt-in-Your-Mouth Texture: Each cookie boasts a wonderfully tender, buttery crumb that truly melts away.
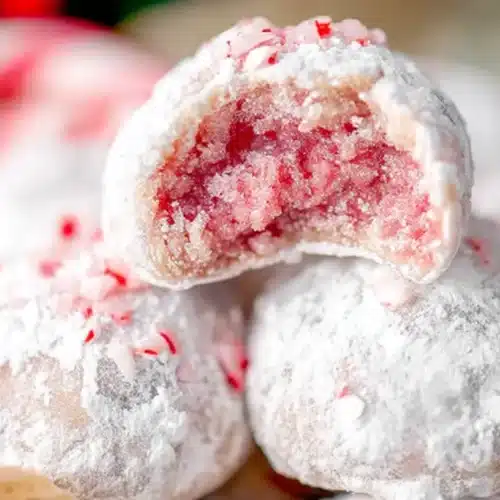
- Festive Flavor & Appearance: The cool peppermint and cheerful color scream holiday cheer in every bite.
- Perfect for Any Occasion: Ideal for holiday cookie platters, gifting to friends and family, or enjoying with a warm drink.
- Make-Ahead Friendly: Prepare the dough in advance or freeze baked cookies to enjoy later.
Ingredients
Here are the simple ingredients you’ll need to create these festive treats:
- 1 cup unsalted butter, softened
- 2/3 cup powdered sugar, sifted (for dough)
- 2 1/4 cup all-purpose flour, spooned and leveled
- 1/2 tsp salt
- 1 tsp peppermint extract
- Red or pink food coloring (gel works best)
- 3/4 cup Andes peppermint baking chips
- Additional powdered sugar for coating the baked Peppermint Snowball Cookies
Notes & Substitutions
Unsalted Butter: Always use softened butter. It creams beautifully with sugar, creating a light, airy dough for your delicious snowball cookies. According to culinary science, creaming butter and sugar together is a fundamental technique for achieving tender baked goods with a desirable texture.
Powdered Sugar (Sifted): Sifting is key for a smooth dough and to avoid lumps. Don’t skip this step!
All-Purpose Flour: Measure flour accurately by spooning it into your measuring cup and leveling it off with a straight edge. This prevents dry, crumbly cookies.
Peppermint Extract: Adjust the amount to your taste. Start with 1 teaspoon and add a tiny bit more if you desire a stronger mint flavor.
Food Coloring: Gel food coloring provides a more vibrant color with less liquid, preventing a thin dough. Red or pink shades are perfect for these holiday cookies.
Andes Peppermint Baking Chips: If unavailable, chop up some peppermint bark or crush candy canes for a similar delightful crunch and flavor.
Salt: Just a touch of salt balances the sweetness and enhances all the flavors in the cookies.
Equipment
Gather these basic tools before you start baking your Peppermint Snowball Cookies:
- Large mixing bowl
- Electric mixer (stand or hand-held)
- Rubber spatula
- Measuring cups and spoons
- Small cookie scoop (1 tablespoon size)
- Baking sheets
- Parchment paper or silicone baking mats
- Small bowl for rolling cookies
How to Make Peppermint Snowball Cookies
Follow these easy steps to bake a batch of delightful Peppermint Snowball Cookies for the holidays!
- Step 1: Cream Butter and Sugar. In a large mixing bowl, beat the softened unsalted butter and 2/3 cup sifted powdered sugar together. Beat with an electric mixer on medium speed for about 2 minutes, until the mixture is light and fluffy. This step incorporates air, making your cookies tender.
- Step 2: Add Dry Ingredients. Reduce mixer speed to low. Gradually add the all-purpose flour and salt to the butter mixture. Mix just until combined, then stir in the peppermint extract. Avoid overmixing, as this can lead to tough cookies.
- Step 3: Incorporate Color and Chips. Add red or pink food coloring a few drops at a time to the dough. Mix until you achieve your desired festive color. Then, gently stir in the Andes peppermint baking chips using a rubber spatula.
- Step 4: Chill the Dough. Cover the dough with plastic wrap and refrigerate for at least 30 minutes. Chilling is crucial for easy handling and helps prevent the cookies from spreading too much while baking.
- Step 5: Prepare for Baking. Preheat your oven to 375°F (190°C). Line a large baking sheet with parchment paper or a silicone baking mat. This ensures your Peppermint Snowball Cookies don’t stick and bake evenly.
- Step 6: Form Cookies. Scoop out one tablespoon of the chilled dough at a time. Roll each portion gently between your palms to form a smooth, uniform ball. Place the formed dough balls about an inch apart on your prepared baking sheet.
- Step 7: Bake to Perfection. Bake for 7 to 8 minutes. You want the cookies to be set and only very lightly browned on the bottom, if at all. Avoid overbaking to keep them soft. Let the cookies cool on the baking sheet for 5 minutes.
- Step 8: First Powdered Sugar Dusting. While the cookies are still warm, prepare another large baking sheet by lining it with fresh parchment paper and dusting it liberally with powdered sugar. Carefully transfer the slightly cooled Peppermint Snowball Cookies to this sheet and dust them generously with additional powdered sugar.
- Step 9: Cool Completely. Allow the dusted cookies to cool completely on the baking sheet. This cooling step helps the first layer of powdered sugar adhere and prevents the second coating from melting.
- Step 10: Second Powdered Sugar Roll. Once completely cooled, fill a small bowl halfway with fresh powdered sugar. Drop each cookie, one at a time, into the bowl. Turn the cookie until it is fully coated in a thick, snowy layer of powdered sugar.
- Step 11: Store Properly. Transfer your beautifully coated Peppermint Snowball Cookies to an airtight container.
Pro Tips for Perfect Peppermint Snowball Cookies
Achieve bakery-worthy Peppermint Snowball Cookies every time with these helpful tips:
- Achieve Rounded Cookies: Chilling the dough is essential. Cold dough holds its shape better, resulting in perfectly round cookies that don’t spread excessively during baking.
- Optimal Cookie Size: Aim for small, bite-sized portions (about 1 tablespoon each). These mini snowball cookies bake more evenly and are delightful to eat.
- Double Dusting Method: The two-step coating process ensures a beautiful, thick layer of powdered sugar. Dusting warm cookies helps the sugar melt slightly and stick, while rolling cooled cookies creates the iconic “snowball” look.
- Measuring Ingredients Accurately: Always spoon and level your flour. Too much flour makes cookies dry and crumbly, while too little can make them spread too much. Accurate flour measurement is crucial in baking, as even a small excess can impact the final texture of cookies, as detailed by various baking experts. Learn more about how to measure flour correctly.
- Preventing Overbaking: Keep a close eye on your oven. Snowball cookies should remain pale on top and just barely firm to the touch. The bottom will be very lightly golden.
Common Mistakes to Avoid
- Overworking the Dough: Mixing flour too much develops gluten, leading to tough cookies. Mix just until combined.
- Not Chilling Dough Sufficiently: Insufficiently chilled dough will spread too much, resulting in flat, misshapen snowball cookies.
- Incorrect Flour Measurement: Scooping flour directly from the bag compacts it, adding too much. This causes dry, crumbly dough that won’t form balls.
- Rolling Warm Cookies in Sugar: The heat will melt the powdered sugar, creating a sticky glaze instead of a snowy coating. Always wait for cookies to cool before the final roll.
- Ignoring Visual Cues During Baking: Don’t just rely on the timer. Look for pale tops and lightly golden bottoms to ensure perfectly baked, tender cookies.
Serving Suggestions, Storage & Variations
These Peppermint Snowball Cookies are versatile and delicious!
Serving Suggestions
- Holiday Cookie Trays: A vibrant and festive addition to any holiday cookie assortment.
- Alongside Coffee or Hot Chocolate: The cool peppermint complements warm beverages beautifully.
- As a Festive Dessert: Offer them after a holiday meal for a light, sweet finish.
- Giftable Treats: Pack them in decorative tins or bags for a thoughtful homemade gift.
Storage
- Store your Peppermint Snowball Cookies at room temperature in an airtight container.
- They will stay fresh and delicious for up to 4 days.
- If layering, place a piece of parchment paper between layers to prevent sticking.
Freezing Instructions
- Baked Cookies: Freeze baked and fully coated cookies in a single layer on a baking sheet until solid. Transfer them to an airtight freezer-safe container or bag for up to 2 months. Thaw at room temperature and re-roll in powdered sugar if desired.
- Dough: Form the dough into balls and freeze them solid on a baking sheet. Transfer to a freezer bag. Bake from frozen, adding a couple of minutes to the baking time.
Flavor Variations
- Mint Chocolate Chip: Use mini chocolate chips instead of peppermint baking chips for a different flavor.
- Key Lime Snowballs: Substitute lime extract for peppermint and add a touch of green food coloring.
- Other Extracts: Experiment with almond, vanilla, or even orange extract for unique snowball cookie flavors.
- Add-ins: Fold in finely chopped nuts (pecans, walnuts) or festive sprinkles with the baking chips for extra texture and fun.
Nutrition Information
Please note that these nutritional values are approximate and may vary based on specific ingredients and preparation methods. This information is provided for general guidance only.
| Nutrient | Amount |
|---|---|
| Calories | 82 kcal |
| Carbohydrates | 8 g |
| Fat | 5 g |
| Saturated Fat | 3 g |
| Cholesterol | 10 mg |
| Sodium | 60 mg |
| Potassium | 7 mg |
| Sugar | 3 g |
| Vitamin A | 120 IU |
| Calcium | 8 mg |
| Iron | 0.3 mg |
Frequently Asked Questions (FAQ)
- Why is my snowball cookie dough crumbly? It’s likely due to too much flour, which happens when scooping directly from the bag instead of spooning and leveling. Also, ensure your butter is properly softened, not melted or too cold.
- Can I make these cookies without food coloring? Absolutely! The food coloring is purely for aesthetic appeal. Your Peppermint Snowball Cookies will still be just as delicious and festive without it.
- How long do peppermint snowball cookies last? When stored in an airtight container at room temperature, they stay fresh for up to 4 days. Freezing extends their freshness considerably.
- Can I use fresh mint instead of extract? Fresh mint won’t provide the strong, concentrated flavor needed for these cookies. Peppermint extract is essential for that signature taste.
- What if I don’t have peppermint baking chips? No problem! You can use finely chopped white chocolate, dark chocolate, or even crushed hard peppermint candies for a similar effect and delightful flavor.
Conclusion
These Peppermint Snowball Cookies are a joyful addition to any holiday celebration. They are incredibly simple to make, deliver a delightful melt-in-your-mouth texture, and boast a festive look and flavor everyone will adore. We encourage you to try this easy recipe and bring some extra sparkle to your holiday baking. Share your creations with us in the comments below!
Delicious Peppermint Snowball Cookies for the Holidays
Equipment
- Mixer
- Large baking sheet
- Parchment paper or silicone baking mat
- Small bowl
- Airtight container
Ingredients
Cookie Dough
- 1 cup unsalted butter softened
- 2/3 cup powdered sugar sifted
- 2 1/4 cup all-purpose flour spooned and leveled
- 1/2 tsp salt
- 1 tsp peppermint extract
- red or pink food coloring
- 3/4 cup Andes peppermint baking chips
For Coating
- additional powdered sugar for coating
Instructions
Preparation
- Cream softened butter and sifted powdered sugar until light and fluffy.
- Gradually mix in flour, salt, and peppermint extract until just combined.
- Add food coloring until desired shade is reached, then stir in peppermint baking chips.
- Cover and refrigerate the dough for a minimum of 30 minutes.
Baking
- Preheat oven to 375°F (190°C) and line a baking sheet with parchment paper.
- Scoop dough by the tablespoon and roll into balls, placing them on the prepared baking sheet.
- Bake for 7-8 minutes until lightly browned on the bottom, then cool on the sheet for 5 minutes.
Finishing & Storage
- Prepare a second baking sheet by lining it with parchment paper and dusting generously with powdered sugar.
- Transfer the slightly cooled cookies to the dusted sheet, sprinkle with more powdered sugar, and let them cool completely.
- Once fully cooled, coat each cookie by dropping it into a bowl of powdered sugar and turning until fully covered.
- Store the finished cookies in an airtight container for up to four days.
Notes

Amelia Johnson is a 28-year-old chef from New Orleans, Louisiana, known for her innovative take on traditional American cuisine. Growing up in a family that celebrated food, she developed a passion for cooking early on, experimenting with recipes from her grandmother. After graduating from culinary school, Amelia honed her skills in top restaurants, where her talent quickly gained acclaim for its creative dishes. With a focus on seasonal ingredients and bold flavors, she inspires others through cooking workshops, sharing her love for food and the rich diversity of American cuisine.